

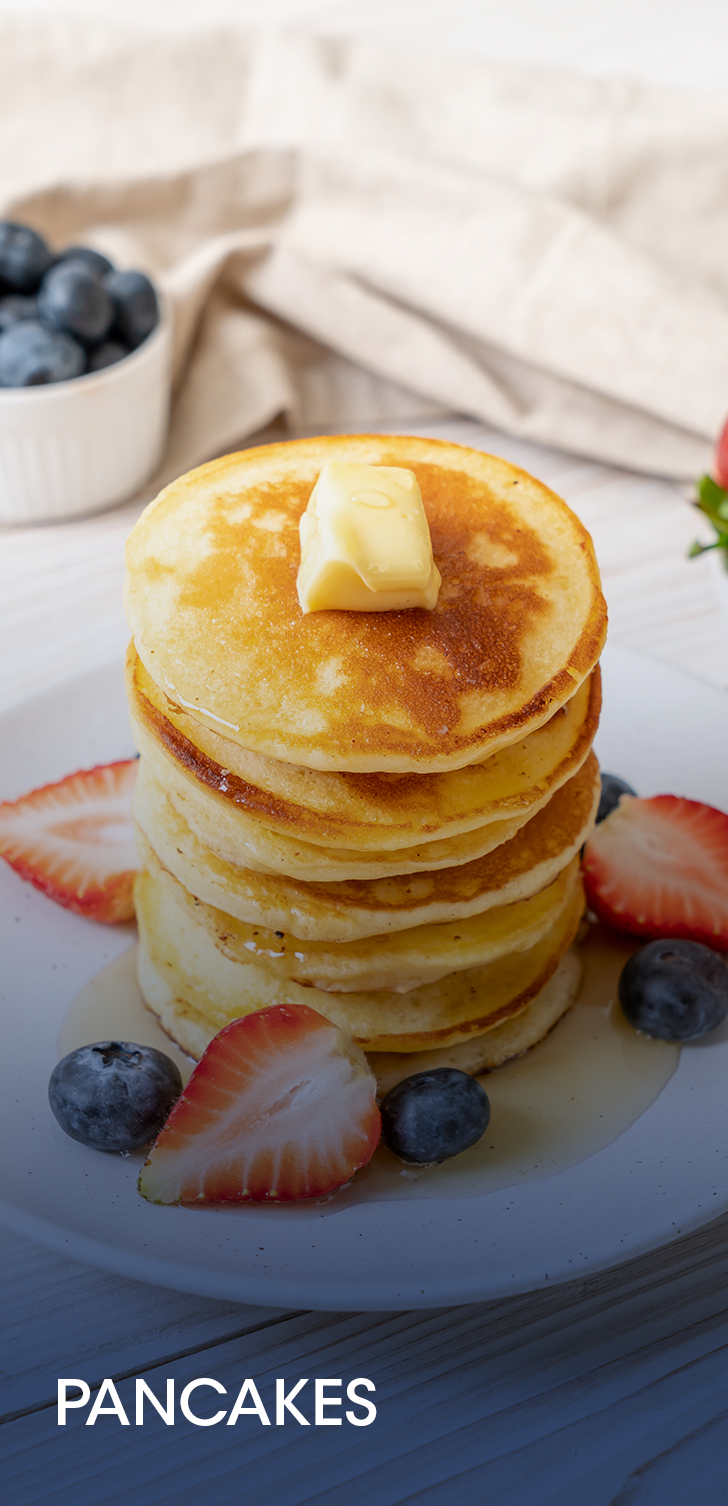


Step-by-Step Guide to Freezing Cooked Pancakes:
-
Cool the Pancakes:
- Allow the cooked pancakes to cool completely on a wire rack. Freezing them while they’re still warm can cause them to become soggy.
-
Pre-Freeze the Pancakes:
- Lay the cooled pancakes in a single layer on a baking sheet, ensuring they don’t touch each other.
- Place the baking sheet in the freezer for about 1-2 hours, or until the pancakes are frozen solid. This prevents them from sticking together when stored.
-
Stack and Store:
- Once frozen, stack the pancakes with a small piece of parchment paper or wax paper between each one. This makes it easier to separate them later.
- Place the stacked pancakes in a freezer-safe bag or airtight container. Squeeze out as much air as possible from the bag before sealing it.
-
Label and Freeze:
- Label the bag or container with the date so you know when you froze them. Pancakes can be stored in the freezer for up to 2 months.
Reheating Frozen Pancakes:
-
Microwave:
- Place one or two pancakes on a microwave-safe plate.
- Microwave for 20-30 seconds per pancake, or until heated through.
-
Toaster:
- For a crispy texture, pop the frozen pancakes into the toaster. Toast on a medium setting until they are heated through and slightly crispy on the outside.
-
Oven:
- Preheat your oven to 180°C.
- Place the pancakes in a single layer on a baking sheet, cover with foil, and bake for about 10 minutes, or until heated through.


Leave a comment (all fields required)